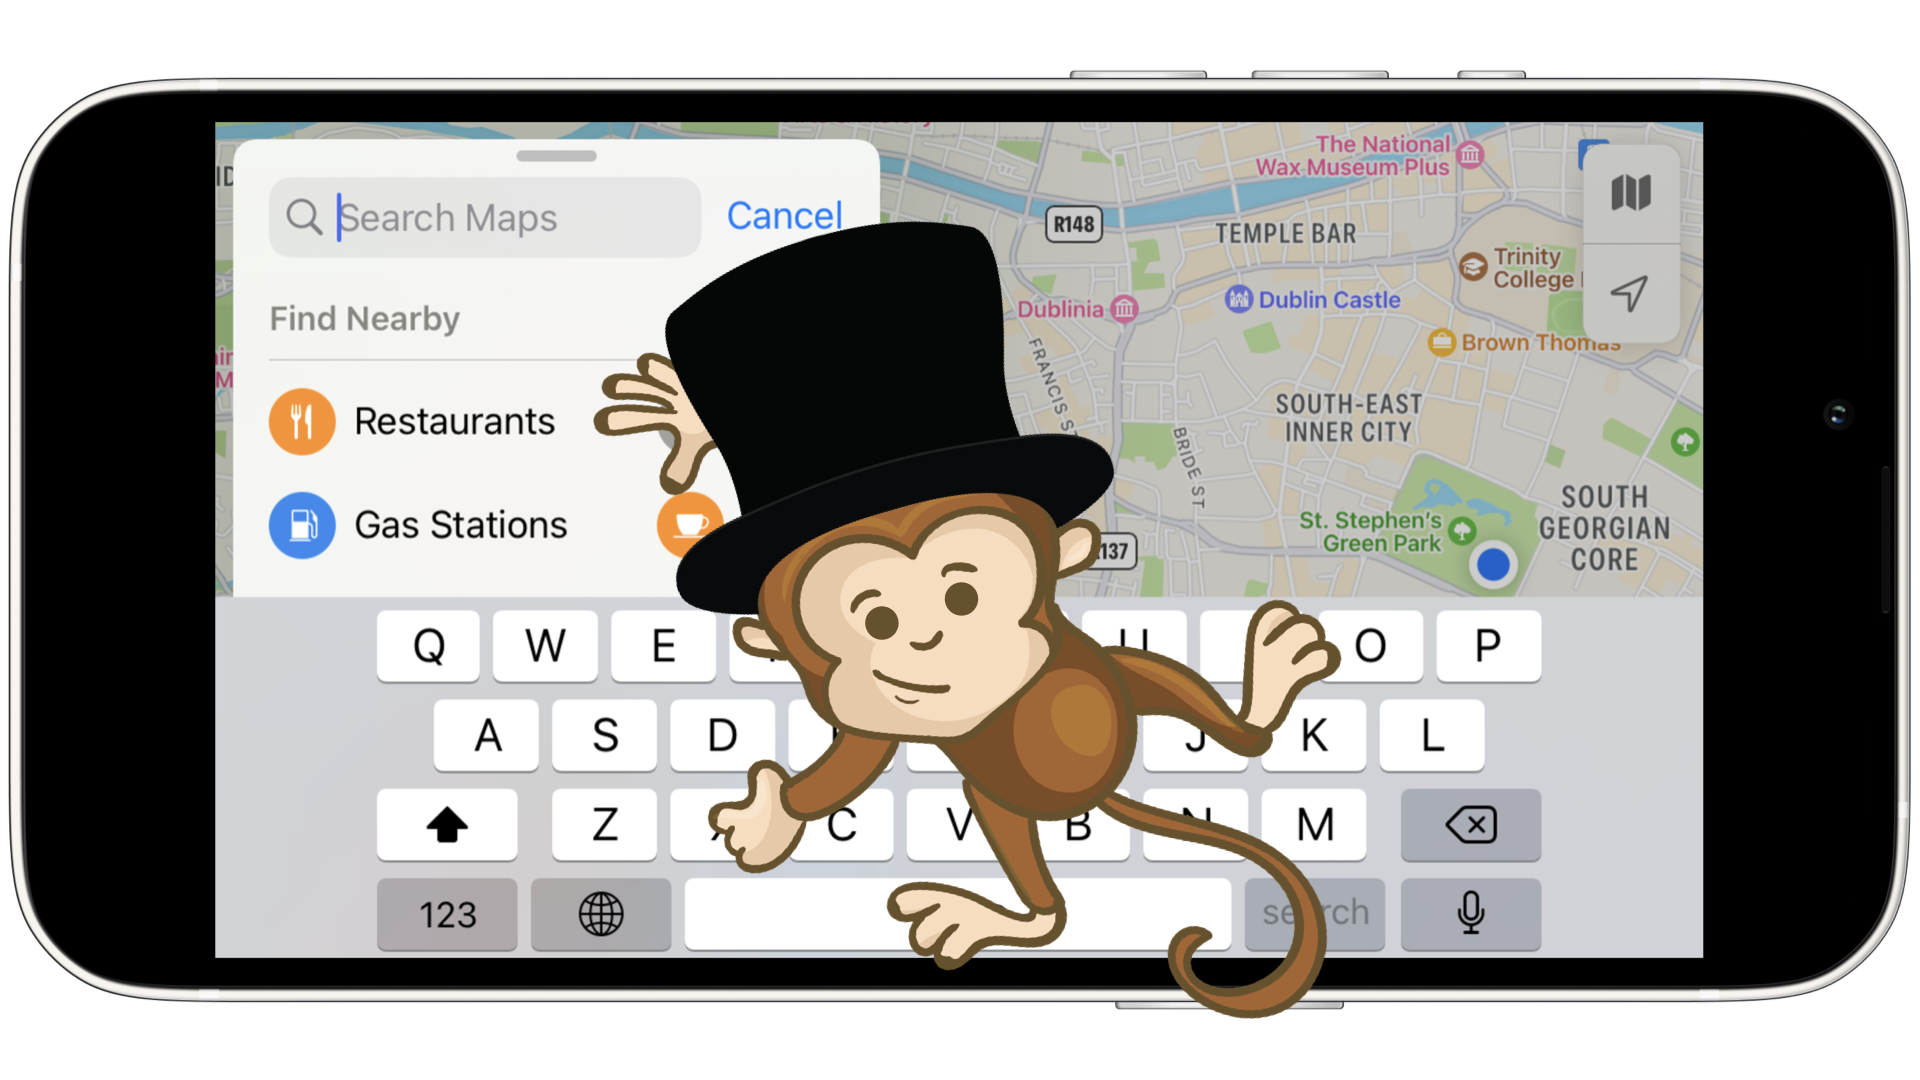
Stress testing on iOS with xcmonkey

Monkey testing
There are three things you can watch forever: fire burning, water falling, and monkey testing 📱🐒
In my humble opinion, automated monkey testing is the most mesmerizing testing technique. No, really, random or pseudo-random clicks and swipes, and yet it’s so breathtaking, isn’t it? Also, it’s such a fun way to stress-test apps that you’re developing, in a random yet repeatable manner.
How it all started
I think on iOS this story started with UIAutoMonkey. It was such an awesome tool to play with. Back then, there was neither Swift nor XCTest, so it leveraged Instruments that were coming with Apple’s developer tools and allowed to automate UI interactions using Javascript. It was deprecated around 2016 right after Apple removed the UI Testing instruments, which were replaced by XCTest.
After a while, SwiftMonkey popped up. You can guess from the name that it was written in Swift. It’s worth noting that it had such a beautiful design — you could literary observe the appearance of colourful monkey paws at the places where it was tapping. Unfortunately, in December 2022 it was archived.
So it goes, native development is awesome and it can bring a lot of benefits, but in return, it requires constant support and maintenance for obvious reasons. But look at Android, it has had monkey tool for ages, and it’s still there. Role model or monopoly?
Anyways, I’ve been looking for a replacement for UIAutoMonkey and SwiftMonkey and, oddly enough, ain’t much out there. Apple introduces breaking changes so often that these tools don’t last long. So, if the space is empty, why not fill it yourself? 🤠
Let’s craft something new
Say hi to xcmonkey — a brand new tool for doing randomised UI testing of iOS apps. It’s inspired by and has similar goals to the aforementioned monkey on Android.
Although it’s not that feature-rich yet, but it is a good start and it’s open-sourced so you can contribute and make it even better by opening issues or pull requests on GitHub. Let’s see if it finds its audience.
Under the hood, xcmonkey uses iOS Development Bridge as a driver, that’s why it’s pretty smart and can do a lot of things, such as taps, swipes and presses. All that comes «pseudo-random» because it has access to the screen hierarchy, and so can either do actions blindly (like tapping on random points) or precisely (like tapping on the existing elements).
Installation
First of all, you need to have idb preinstalled:
brew install facebook/fb/idb-companion
pip3.6 install fb-idb
Then you can install xcmonkey:
gem install xcmonkey
If you prefer to use bundler, then
-
add the following line to your
Gemfile:gem 'xcmonkey' -
and run:
bundle install
Usage
As of today, xcmonkey has three commands:
-
test— runs the monkey testing$ xcmonkey test --udid "413EA256-CFFB-4312-94A6-12592BEE4CBA" --bundle-id "com.apple.Maps" --duration 100 12:44:19.343: Device info: iPhone 14 Pro | 413EA256-CFFB-4312-94A6-12592BEE4CBA | Booted | simulator | iOS 16.2 | x86_64 | /tmp/idb/413EA256-CFFB-4312-94A6-12592BEE4CBA_companion.sock 12:44:22.550: App info: com.apple.Maps | Maps | system | arm64, x86_64 | Running | Not Debuggable | pid=74636 12:44:23.203: Tap: { "x": 53, "y": 749 } 12:44:23.511: Swipe (0.5s): { "x": 196, "y": 426 } => { "x": 143, "y": 447 } 12:44:24.355: Press (1.2s): { "x": 143, "y": 323 } -
repeat— repeats the monkey testing from generated session$ xcmonkey repeat --session-path "./xcmonkey-session.json" 12:48:13.333: Device info: iPhone 14 Pro | 413EA256-CFFB-4312-94A6-12592BEE4CBA | Booted | simulator | iOS 16.2 | x86_64 | /tmp/idb/413EA256-CFFB-4312-94A6-12592BEE4CBA_companion.sock 12:48:16.542: App info: com.apple.Maps | Maps | system | arm64, x86_64 | Running | Not Debuggable | pid=73416 12:48:20.195: Tap: { "x": 53, "y": 749 } 12:48:20.404: Swipe (0.5s): { "x": 196, "y": 426 } => { "x": 143, "y": 447 } 12:48:21.155: Press (1.2s): { "x": 143, "y": 323 } -
describe— describes the given point on the screen$ xcmonkey describe -x 20 -y 625 --udid "413EA256-CFFB-4312-94A6-12592BEE4CBA" 20:05:20.212: Device info: iPhone 14 Pro | 413EA256-CFFB-4312-94A6-12592BEE4CBA | Booted | simulator | iOS 16.2 | x86_64 | /tmp/idb/413EA256-CFFB-4312-94A6-12592BEE4CBA_companion.sock 20:05:21.713: x:20 y:625 point info: { "AXFrame": "19, 624.3, 86, 130.6", "AXUniqueId": "ShortcutsRowCell", "frame": { "y": 624.3, "x": 19, "width": 86, "height": 130.6 }, "role_description": "button", "AXLabel": "Home", "content_required": false, "type": "Button", "title": null, "help": null, "custom_actions": [ ], "AXValue": "Add", "enabled": true, "role": "AXButton", "subrole": null }
Fastlane Support
If you use fastlane, then you can easily integrate xcmonkey into your workflow. Just add the following lane to your Fastfile:
lane :test do
  bundle_id = 'com.apple.Maps'
  device = 'iPhone 14 (16.2)'
  sim = FastlaneCore::Simulator.all.detect { |d| device == "#{d.name} (#{d.os_version})") }

  xcmonkey(udid: sim.udid, bundle_id: bundle_id)
end
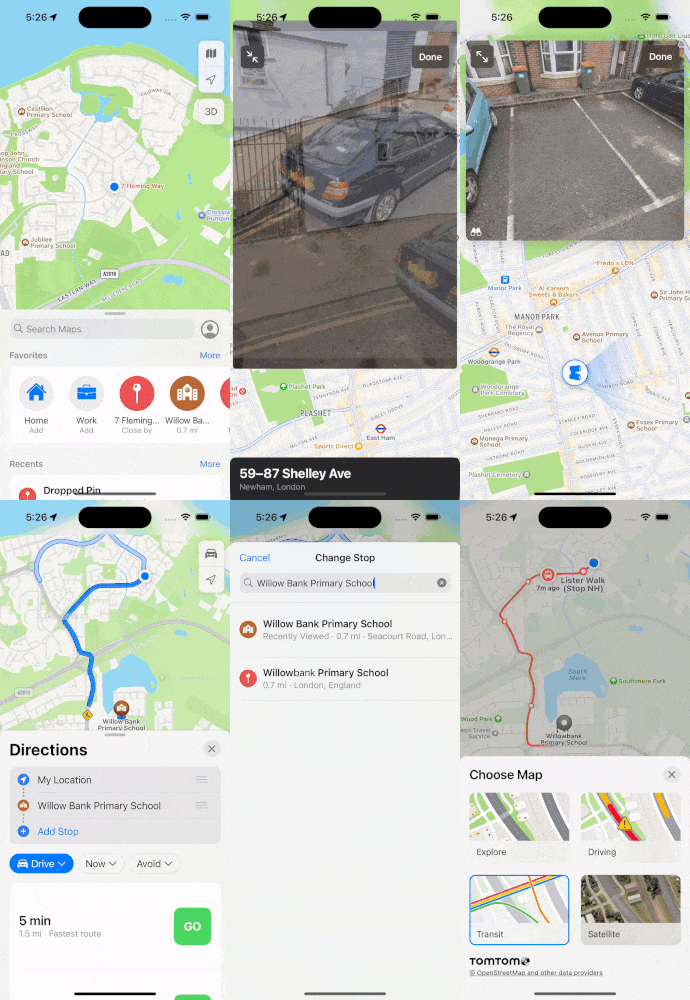
How it looks like

Conclusion
Although monkey testing is not a substitute for more comprehensive testing strategies, it still can be a useful complement to other testing approaches.
Try to stress-test your apps if you haven’t already, and don’t hesitate to give xcmonkey a try! 🐒


