Test-only accessibility values on iOS

What is accessibility value?
It’s a localized string that contains the current value of an element. For example, the value of a slider might be 42% and the value of a text field is the text it contains.
When to use it?
Usually, it’s used only when an accessibility element can have a value that is not represented by its label.
Why to use it?
For example, a volume slider’s label might be «Volume» but its value is the current volume level. In this case, it’s not enough for users to know the identity of the slider, because they also need to know its current value.
What about «test-only» accessibility value?
Long story short, accessibility values are exposed in VoiceOver and other assistive technologies. So, if we want to rely on them in our tests, we have to ensure that no testing data is accessible to users. Here «test-only» thingy comes into play :)
Sample app
I created a super simple sample app with just one screen and one element.
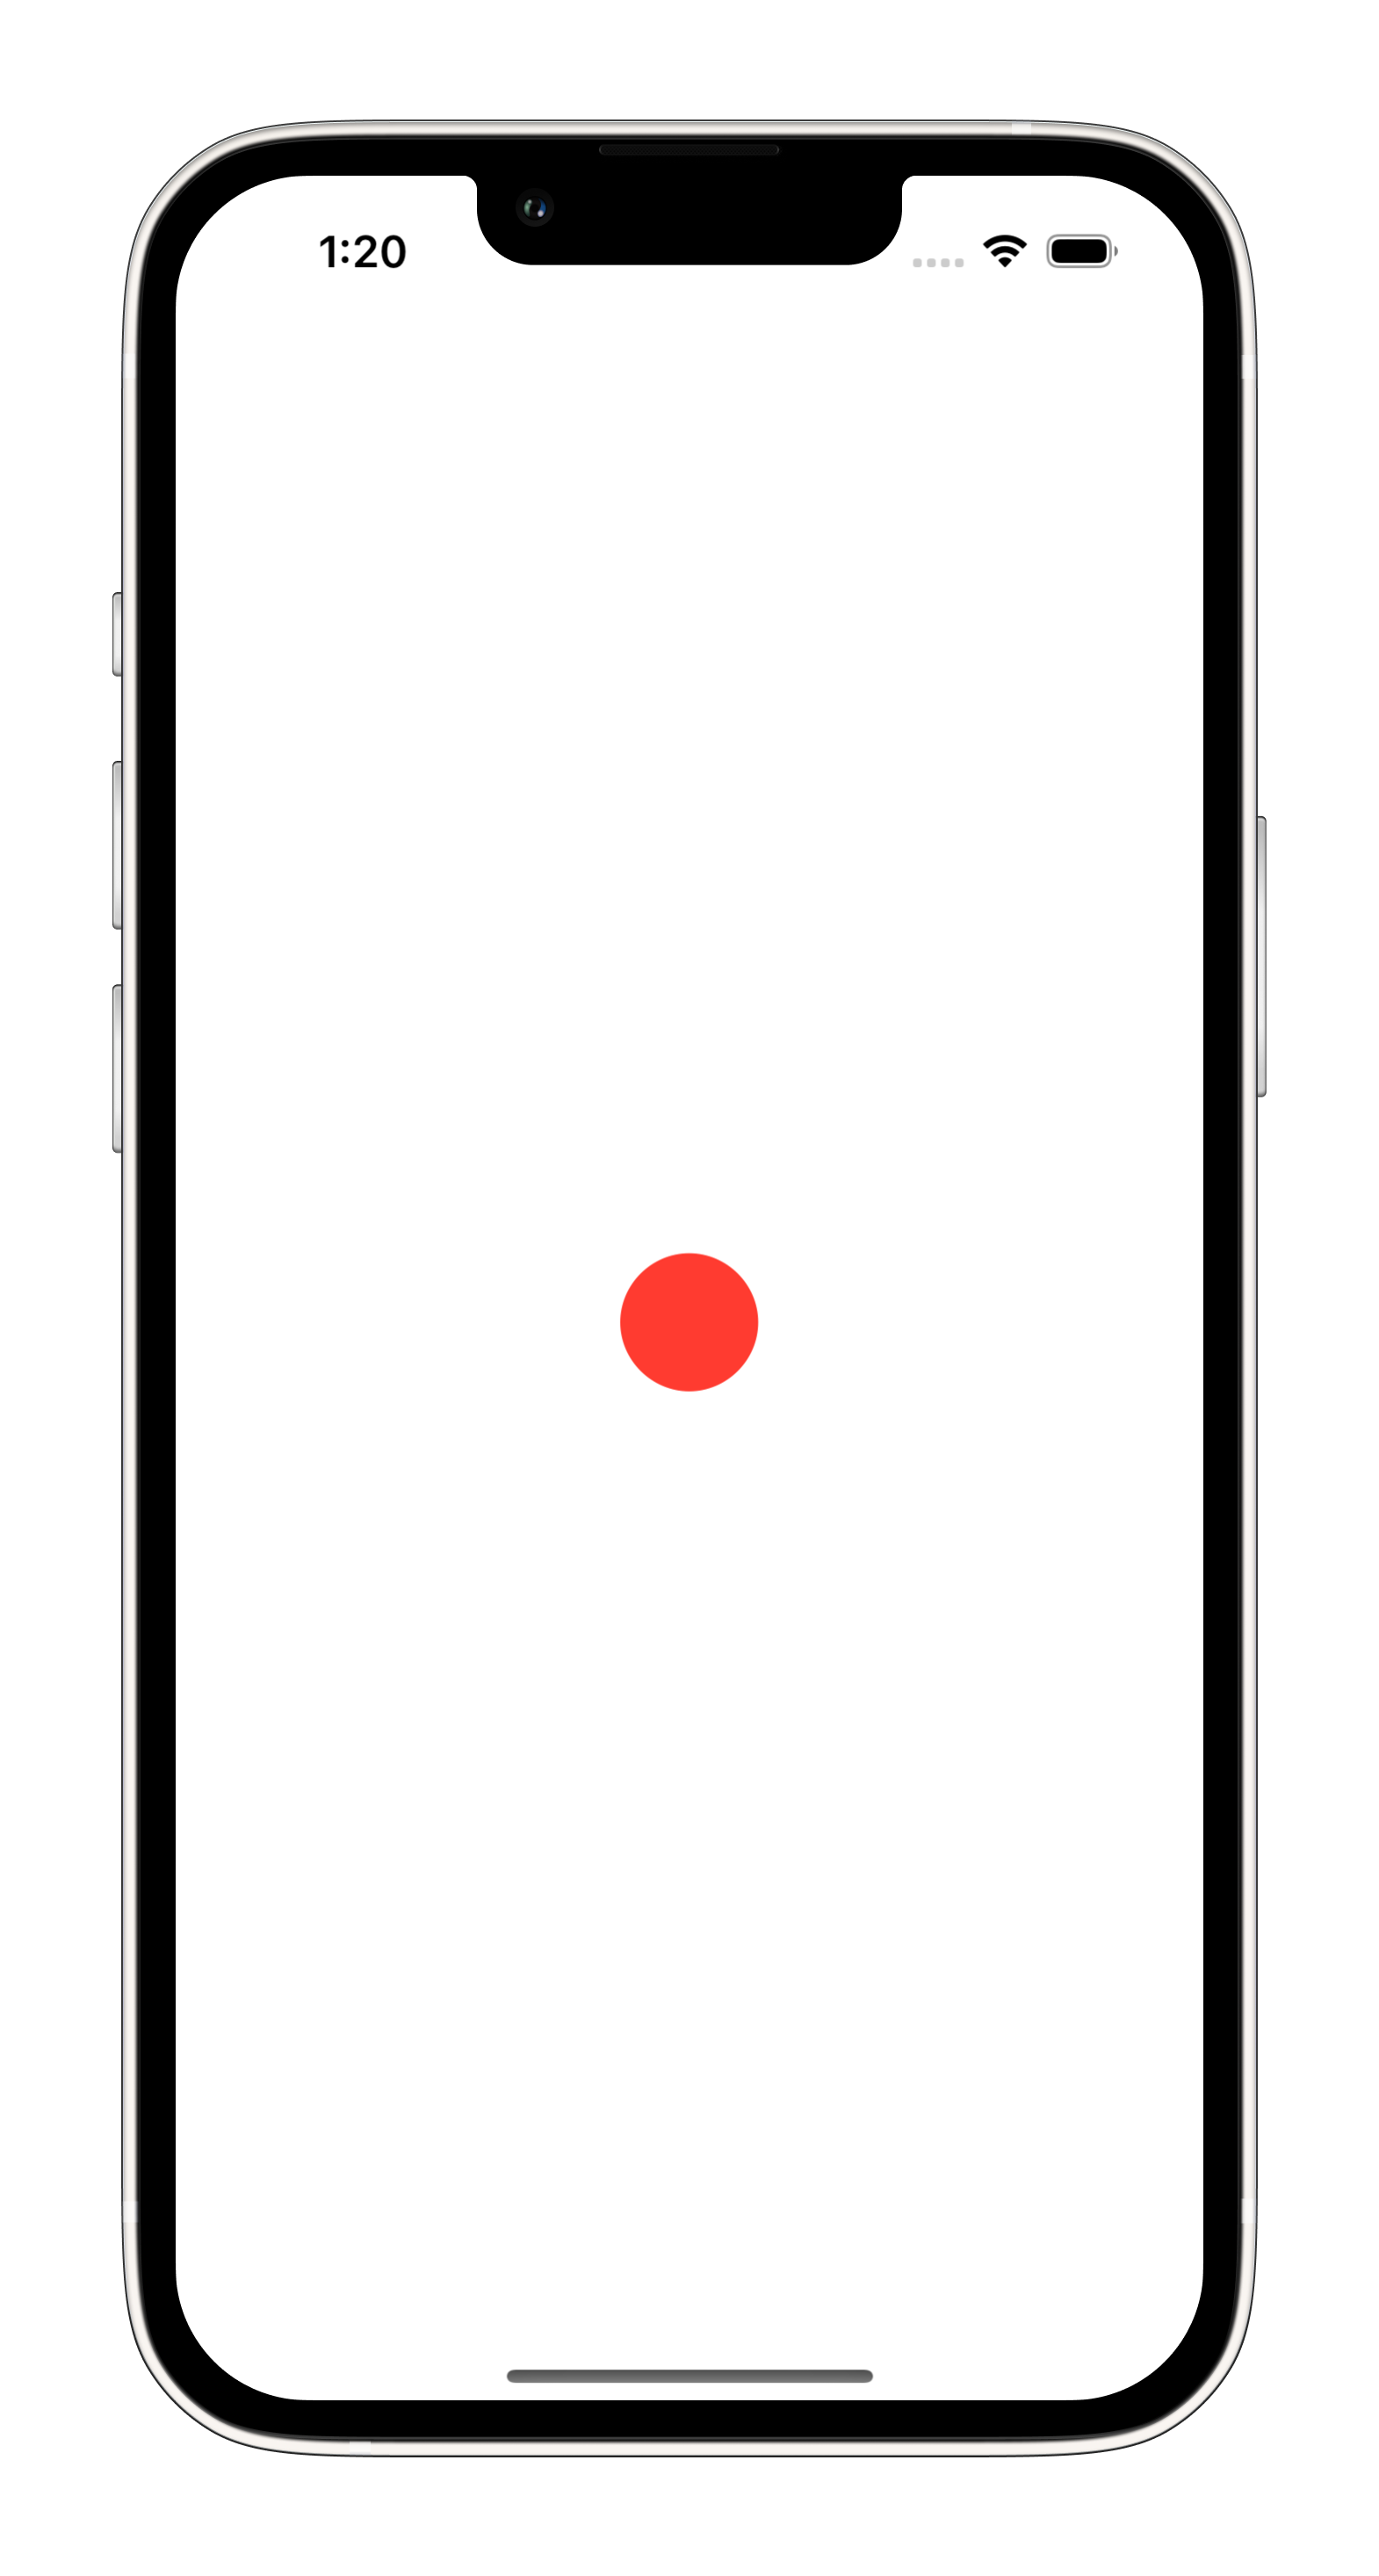
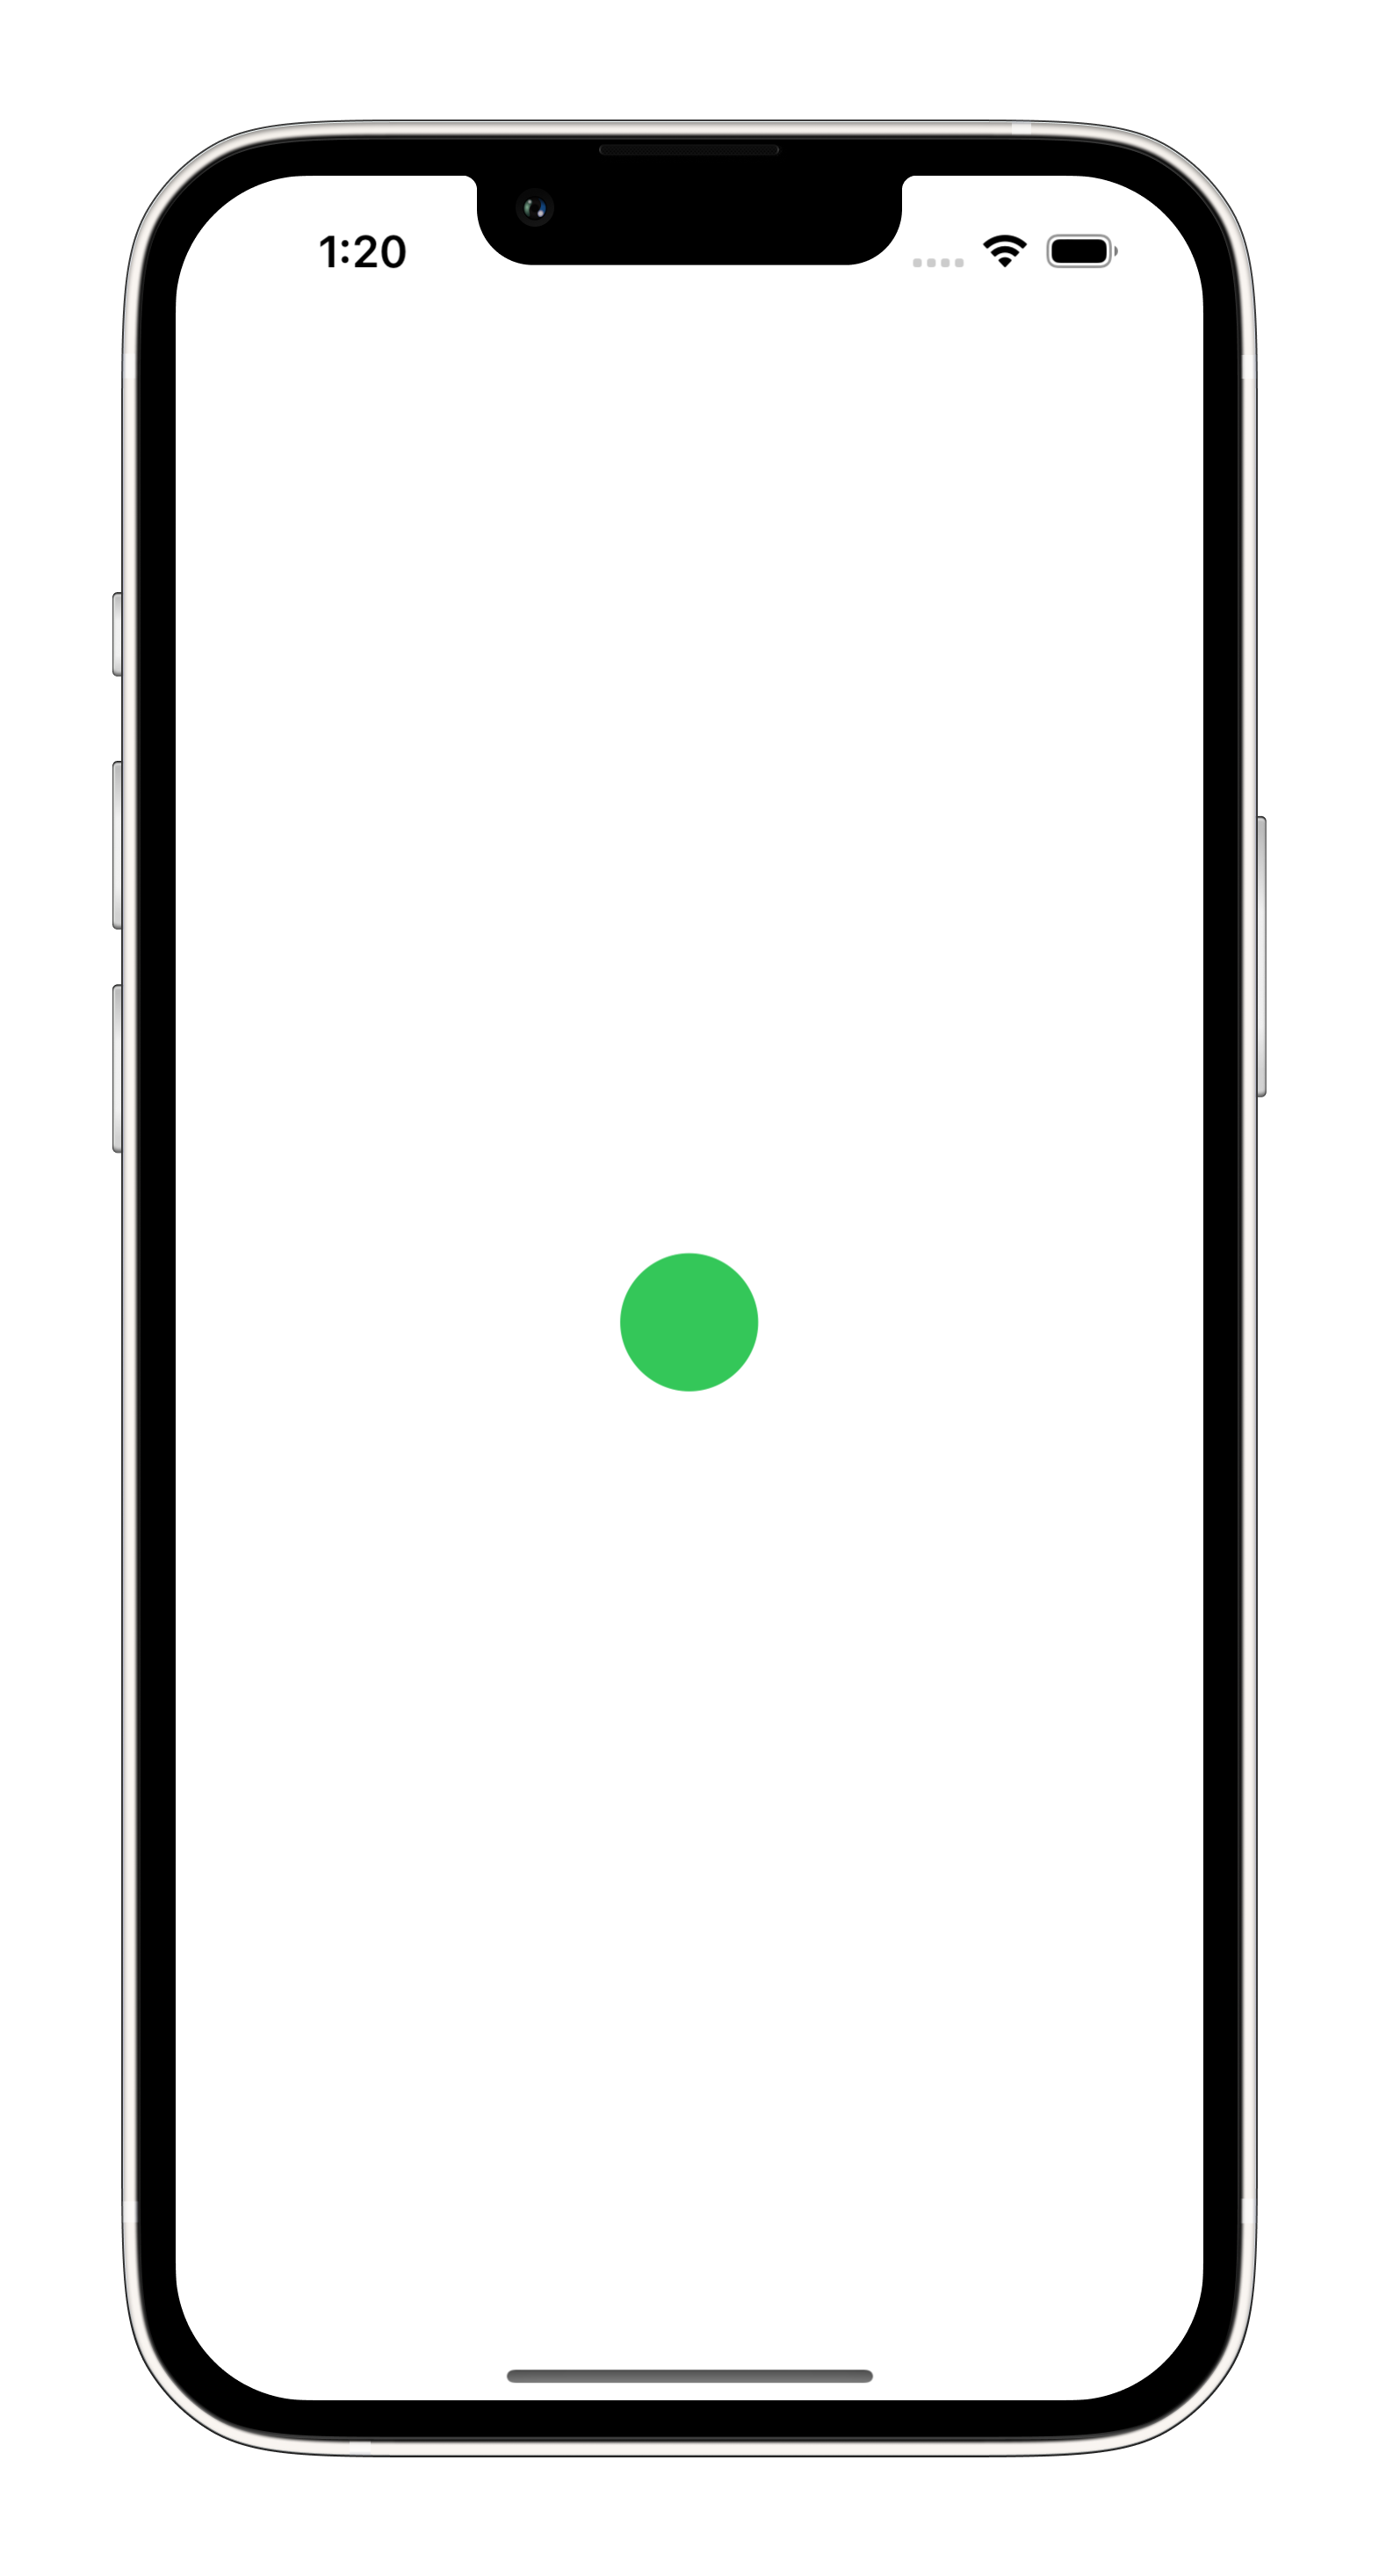
Let’s pretend that this element represents a user’s authorization status. If the user is authorized, the element is green. Otherwise, it’s red.
This element is also a «switch» that changes the authorization status on tap event.
import SwiftUI

@main
struct SampleApp: App {

    var body: some Scene {
        WindowGroup {
            ContentView()
        }
    }
}

struct ContentView: View {

    @State private var isAuthorized: Bool = false

    var body: some View {
        Image(systemName: "circle.fill")
            .onTapGesture {
                isAuthorized = !isAuthorized
            }
            .foregroundColor(isAuthorized ? .green : .red)
            .accessibility(identifier: "statusIcon")
    }
}
Implementing test-only accessibility value
To archive this in SwiftUI we need to extend View class:
import SwiftUI

extension View {

    public func debugAccessibility(value: String) -> some View {
        #if DEBUG
        return self.accessibility(value: Text(value))
        #else
        return self
        #endif
    }
}
And implement this new function in ContentView:
struct ContentView: View {

    @State private var isAuthorized: Bool = false

    var body: some View {
        Image(systemName: "circle.fill")
            .onTapGesture {
                isAuthorized = !isAuthorized
            }
            .foregroundColor(isAuthorized ? .green : .red)
            .accessibility(identifier: "statusIcon")
            .debugAccessibility(value: isAuthorized ? "1" : "0")
    }
}
In case you’re using UIKit, then UIView class should be extended, something like this:
import UIKit

extension UIView {

    public func debugAccessibility(value: String) -> Self {
        #if DEBUG
        return self.accessibilityValue = value
        #endif
        return self
    }
}
Simply put, we’re using the DEBUG flag to make sure that this code is not included in the release build and is only used in the debug one. When this function is called in production, it will return the same view without any changes.
Checking test-only accessibility value
Alrighty, now, using XCTest, we can check out what it was all for:
import XCTest

final class SampleAppUITests: XCTestCase {

    func testAuthorizationStatus() {
        let app = XCUIApplication()
        app.launch()

        // Given the user is logged out
        let status = app.images["statusIcon"]
        XCTAssertEqual(status.value as? String, "0")

        // When the user taps the status icon
        status.tap()

        // Then the user is logged in
        XCTAssertEqual(status.value as? String, "1")

        // When the user taps the status icon again
        status.tap()

        // Then the user is logged out
        XCTAssertEqual(status.value as? String, "0")
    }
}
Cool, we can even create a new extension for XCUIElement to make our tests more readable:
import XCTest

extension XCUIElement {

    var isOn: Bool {
        (self.value as? String) == "1"
    }

    var isOff: Bool {
        (self.value as? String) == "0"
    }
}
It looks a lot better now, doesn’t it?:
func testAuthorizationStatus() {
    let app = XCUIApplication()
    app.launch()

    // Given the user is logged out
    let status = app.images["statusIcon"]
    XCTAssertTrue(status.isOff)

    // When the user taps the status icon
    status.tap()

    // Then the user is logged in
    XCTAssertTrue(status.isOn)

    // When the user taps the status icon again
    status.tap()

    // Then the user is logged out
    XCTAssertTrue(status.isOff)
}
Use cases
There are a bunch of use cases for «test-only» accessibility values. In fact, I showed you only one of them, even though it’s kind of the most common one.
Here’s a rough list of uses:
state- store the state of an element (e.g. on/off, enabled/disabled, etc.)colour- store the colour name of an element (e.g. red, green, etc.)shape- store the shape of an element (e.g. circle, square, etc.)font- store the font of a text element (e.g. bold, italic, etc.)whatever- yeah, this way, you can store almost any property you want as long as it can be represented as a string
In case you’re wondering, the same can be done with accessibility identifiers or any other accessibility properties. Happy hacking! 🤠


