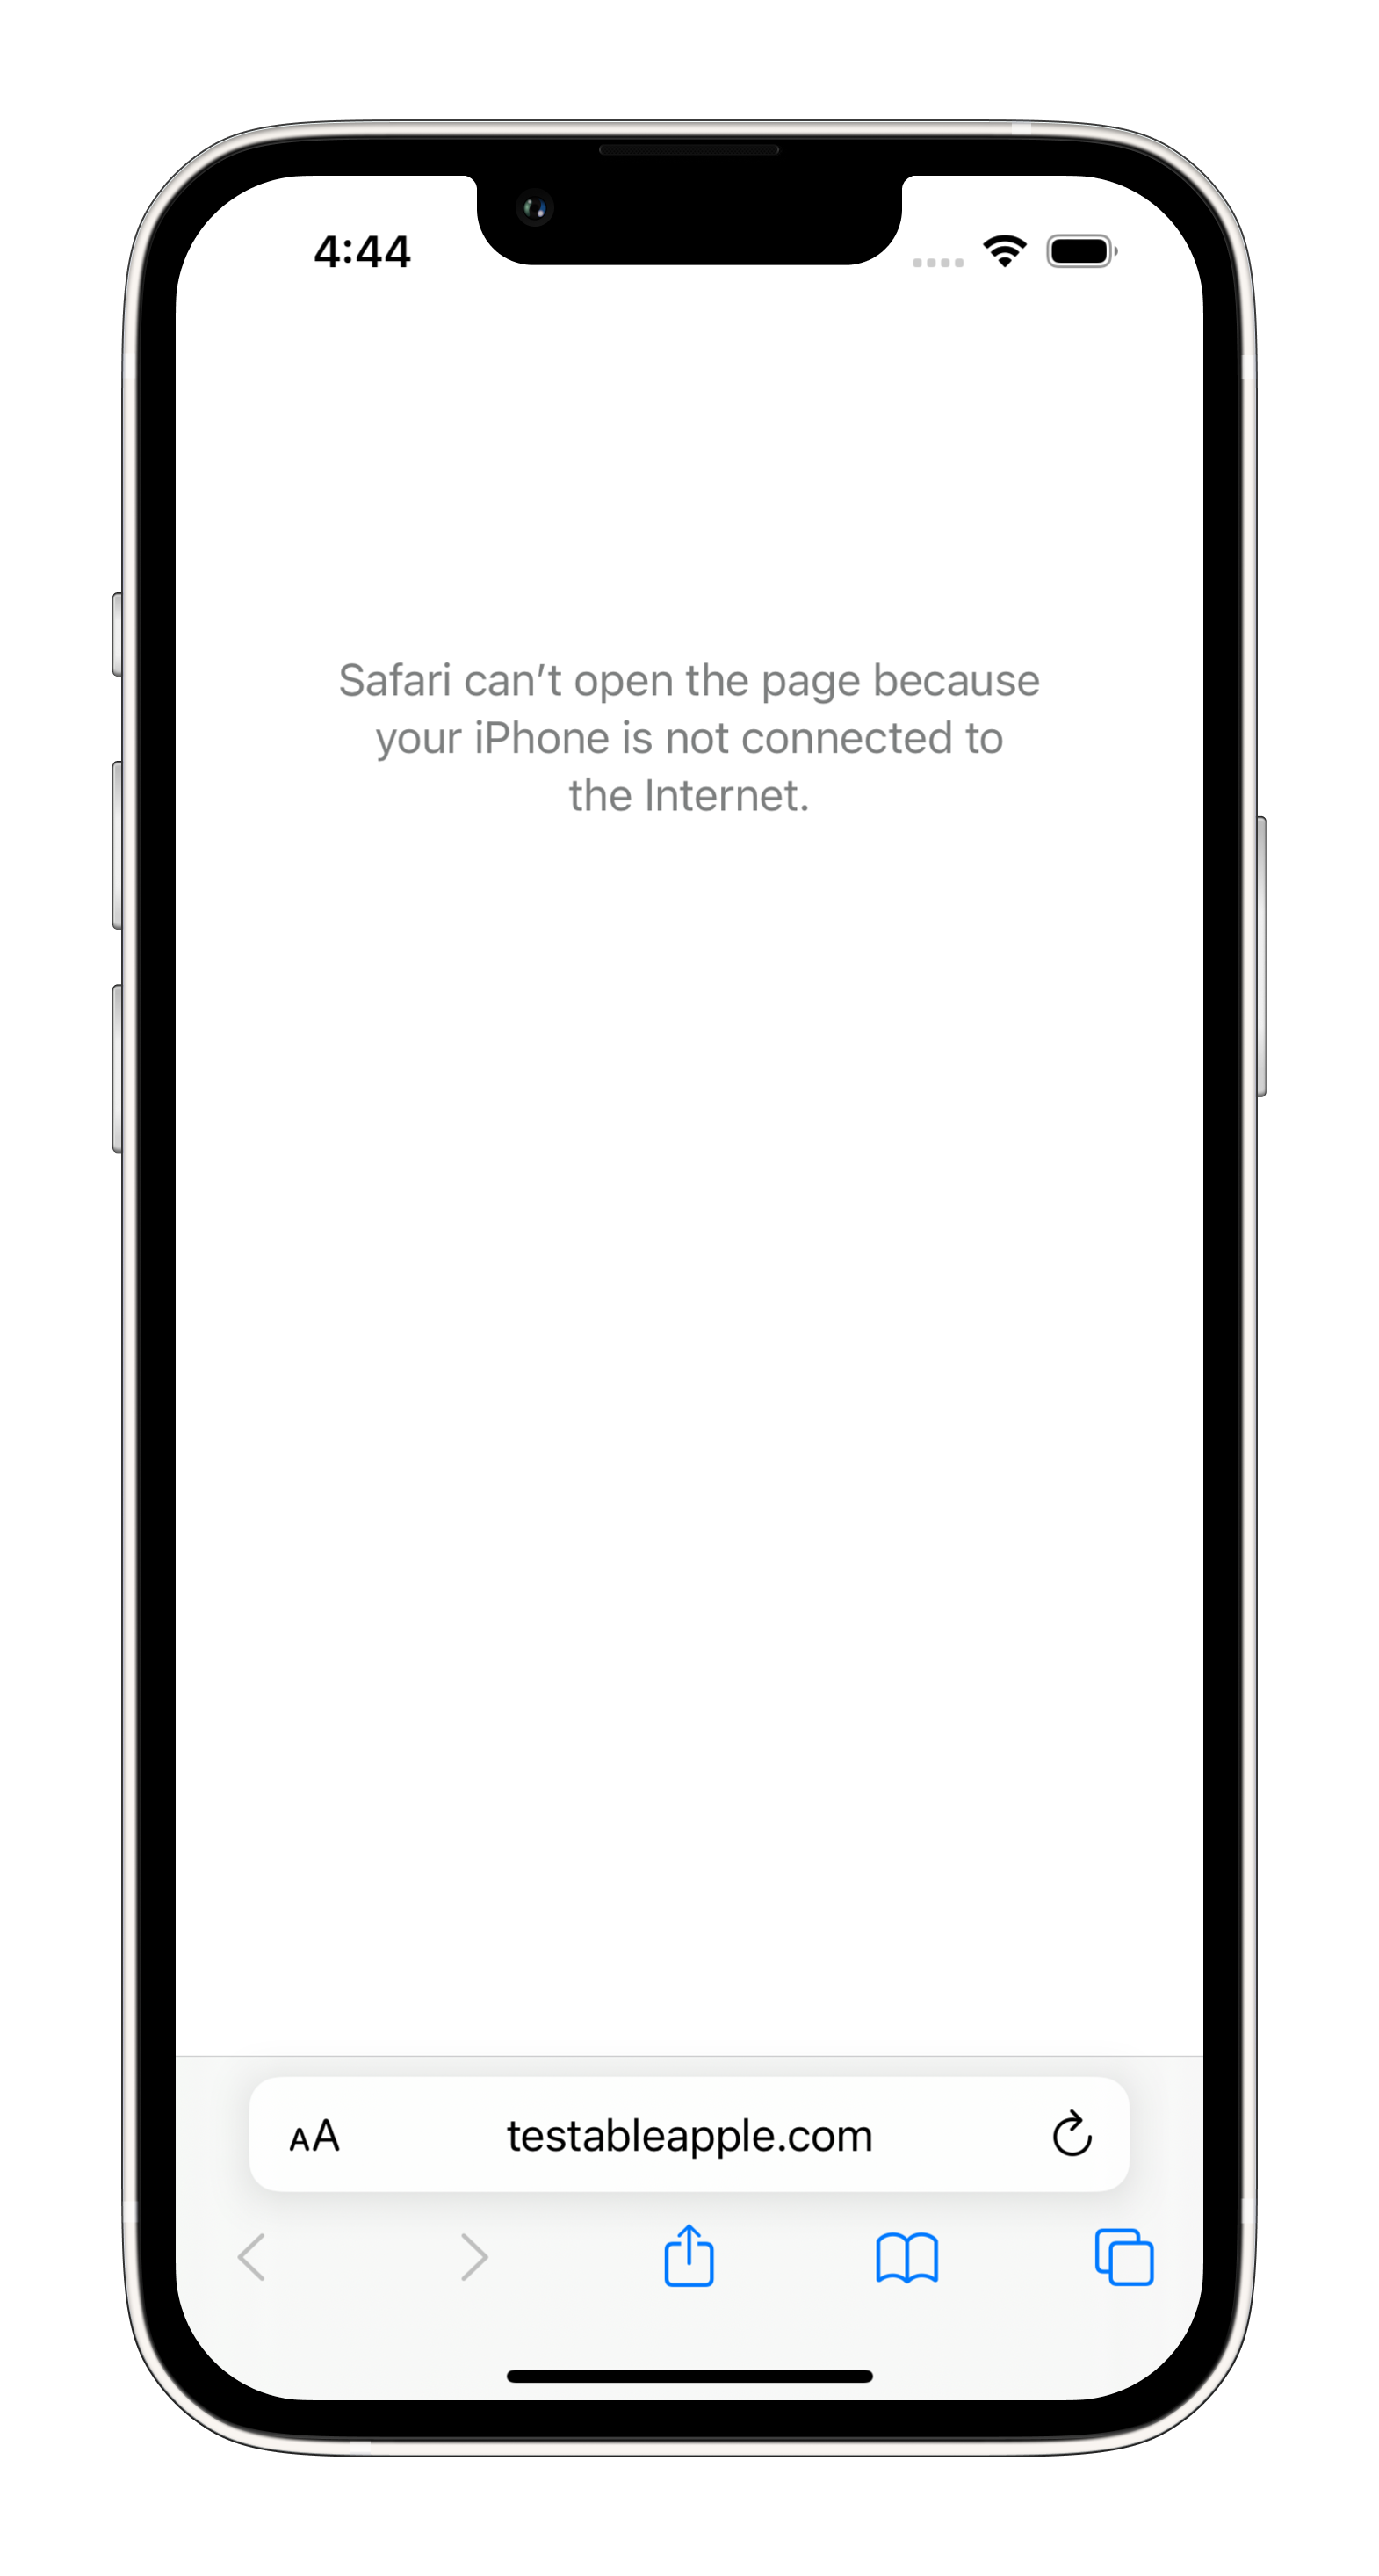
Disabling network on iOS Simulator from XCTest

Offline support is one of the most complex features not only to implement but also to test.
In this post, I’ll show you how to disable the network on iOS Simulator from XCTest. Fasten your seat belts, it can open up a whole new world for your automated test cases.
Options
How can we test «Offline support»? There are a few options:
- To modify the source code so you can control the «network» from the app (in
DEBUGmode only)- This is not always possible, and it may not be 100% appropriate to the real network conditions
- To use a real iOS device instead and turn on/off Airplane mode
- Fair point, but I doubt you’re here for this option
- To be a hacker
- It’s always fun, and sometimes it’s the only option 🤠
Becoming a hacker
The iOS Simulator does not have a built-in option to disable the network. Moreover, it relies on macOS network settings. And therefore, we need to disable the network on macOS in the first place.
Long story short, we need to access the Command-line from XCTest to disable the network on macOS and thus on iOS Simulator. All the magic is behind the native networksetup CLI:
for service in ["Ethernet", "Wi-Fi", "iPhone USB"] {
    exec("networksetup -setnetworkserviceenabled '\(service)' \(state) || true") // "state" can be "on" or "off"
}
Proof of concept
-
Create an HTTP server (I’m using express as an example)
-
Command-line:
npm install express touch server.js open server.js -
Source code:
  // server.js

  const process = require("child_process");
  const express = require("express");
  const app = express();
  const port = 4567;

  app.use(express.json());

  app.listen(port);

  app.post("/terminal", (req, res) => {
    const output = exec(req.body.command, req.query.async).toString("utf8").trim();
    res.send(output);
  });

  function exec(command, async) {
    if (async === "true") {
      return process.exec(command);
    } else {
      return process.execSync(command);
    }
  }
-
-
Create a class that will be responsible for everything around Command-line:
class CommandLine { private static let host = "http://localhost" private static let port: UInt16 = 4567 enum ConnectionState: String { case on case off } static func setConnection(state: ConnectionState) { let network = ["Ethernet", "Wi-Fi", "iPhone USB"] for service in network { exec("networksetup -setnetworkserviceenabled '\(service)' \(state) || true") } } @discardableResult private static func exec(_ command: String, async: Bool = false) -> String { let urlString = "\(host):\(port)/terminal?async=\(async)" guard let url = URL(string: urlString) else { return "" } var request = URLRequest(url: url) request.httpMethod = "POST" request.setValue("application/json", forHTTPHeaderField: "Content-Type") request.httpBody = try? JSONSerialization.data(withJSONObject: ["command": command], options: []) var output = "" if async { // Do not wait for the command to complete URLSession.shared.dataTask(with: request).resume() } else { // Wait for the command to complete let semaphore = DispatchSemaphore(value: 0) let task = URLSession.shared.dataTask(with: request) { data, response, error in if let data = data, let string = String(data: data, encoding: .utf8) { output = string semaphore.signal() } } task.resume() semaphore.wait() } return output } } - Create a sample test case that will:
- disable the network on iOS Simulator
- verify that the network is disabled
- make sure that the network is enabled again after the test is finished
import XCTest class SampleUITests: XCTestCase { let safari = XCUIApplication(bundleIdentifier: "com.apple.mobilesafari") override func setUp() { super.setUp() safari.launch() _ = safari.wait(for: .runningForeground, timeout: 10) } override func tearDown() { super.tearDown() CommandLine.setConnection(state: .on) } func testOfflineScenario() { CommandLine.setConnection(state: .off) open(url: "https://testableapple.com/") let msg = safari.staticTexts.matching(NSPredicate(format: "label CONTAINS 'your iPhone is not connected to the Internet'")) let networkDisabled = msg.firstMatch.waitForExistence(timeout: 10) XCTAssertTrue(networkDisabled, "Network should be disabled") } func open(url: String) { safari.textFields["TabBarItemTitle"].tap() safari.textFields["URL"].typeText(url + XCUIKeyboardKey.return.rawValue) } } -
Now let’s run the server:
node server.js - And the test case itself (either from Xcode or Terminal)

Pros
- Testing of «Offline support» can be automated
Cons
- Disabling the network on macOS obviously will affect everything on this machine that depends on the network connection
- Running tests in parallel on the same machine might be no longer possible. Consider extracting these tests in their own xctestplan / scheme and run them separately
Sample project
Check out this GitHub repo for more details 🙂


