The easiest way to manage multiple Xcodes

Dealing with multiple Xcode versions locally as well as on CI has never been easier than it is today. Installing Xcode command line tools, creating symlinks, switching between different versions, setting up the default one - from now on it’s just a matter of a couple of mouse clicks. Less words, more code snippets and examples.
GUI

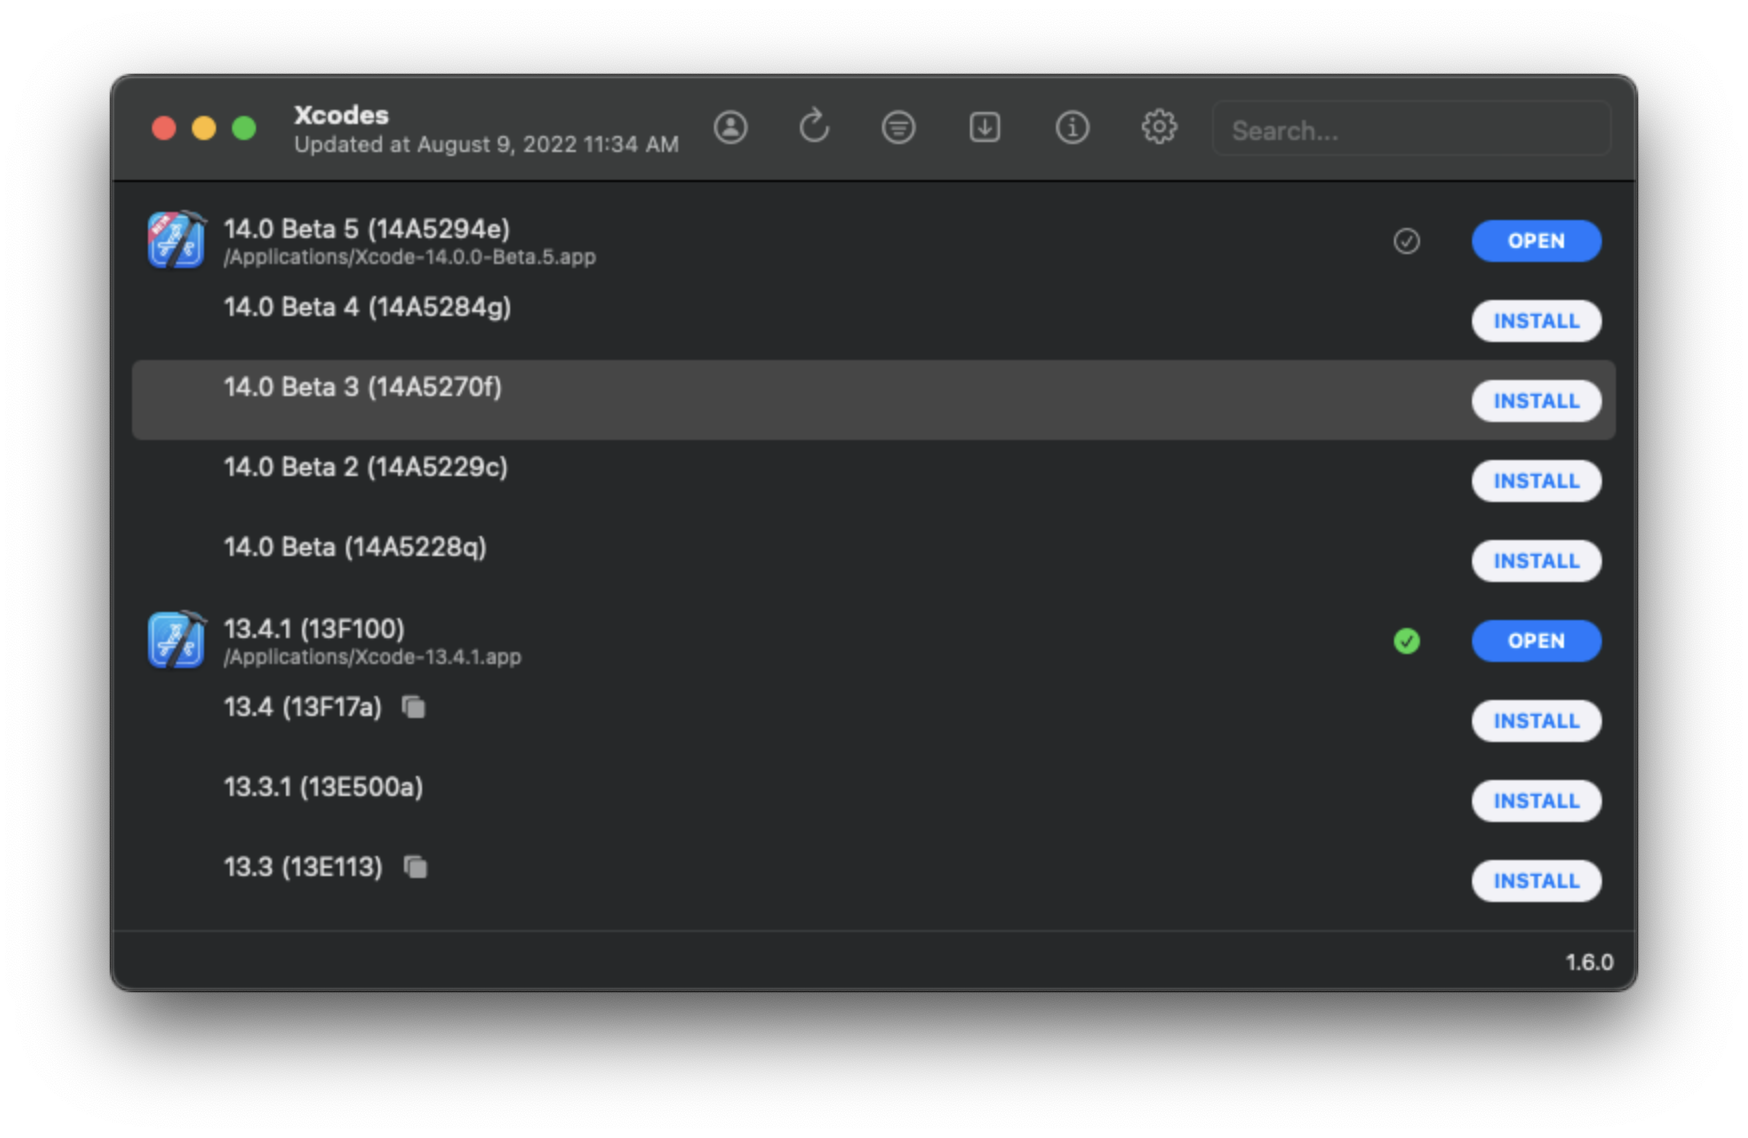
For me, using Xcodes is by far the easiest way to manage multiple Xcode versions locally:
-
Install the tool
brew install --cask xcodes -
Open the app
open /Applications/Xcodes.app -
Select the desired version of Xcode and click on the
Installbutton -
Once the app downloads an Xcode from developer.apple.com, you’ll be prompted to enter an access code
- don’t worry, Apple will send it to you (ofc only if you have an apple developer account)
-
When the installation is complete, you can click on the
Openbutton 🎉- if you already have multiple versions of Xcode on your machine, you can choose which one to make the default version by clicking the colorless checkmark next to the
Openbutton
- if you already have multiple versions of Xcode on your machine, you can choose which one to make the default version by clicking the colorless checkmark next to the
-
To delete an unwanted Xcode, simply right-click on the line with the Xcode name and click on the “Uninstall” button from the drop-down list
Magic, isn’t it? Xcodes acts like a native tool, juggling the Xcode versions as you wish.
CLI
xcodes
This is basically the CLI version of the GUI tool written in pure Swift:
brew install robotsandpencils/made/xcodes
Example:
$ xcodes install 13.4.1
(1/6) Downloading Xcode 13.4.1: 100%
(2/6) Unarchiving Xcode (This can take a while)
(3/6) Moving Xcode to /Applications/Xcode-13.4.1.app
(4/6) Moving Xcode archive Xcode-13.4.1.xip to the Trash
(5/6) Checking security assessment and code signing
(6/6) Finishing installation
xcodes requires superuser privileges in order to finish installation.
macOS User Password:

Xcode 13.4.1 has been installed to /Applications/Xcode-13.4.1.app
xcversion
If you are a fastlane fan, picking this action is a no-brainer:
gem install fastlane
Example:
before_all do
  xcversion(version: "~> 13.4.0") if is_ci # Selects the latest installed version from the 13.4.x set
end
xcode-install
The fastlane action above is also available as a separate and more powerful Ruby gem:
gem install xcode-install
Example:
$ xcversion install 13.4.1
###########################################################               82.1%
######################################################################## 100.0%
Please authenticate for Xcode installation...

Xcode 13.4.1
Build version 13F100
The standalone gem also allows us to install any iOS/iPadOS/WatchOS Simulators
Example:
$ xcversion simulators --install='iOS 15.5'
###########################################################               82.1%
######################################################################## 100.0%
Please authenticate to install iOS 15.5 Simulator...

Successfully installed iOS 15.5 Simulator


